
P0113 Intake Air Temp Circuit High: The Free Test First

P0113 says the voltage on the intake air temperature signal wire is higher than the ECU will accept, which in the language of this circuit means the air appears impossibly cold or the circuit appears open. It is a wiring-and-connection code far more often than a failed sensor, and there is a comparison you can make in live data on a cold morning that costs nothing and usually settles it.
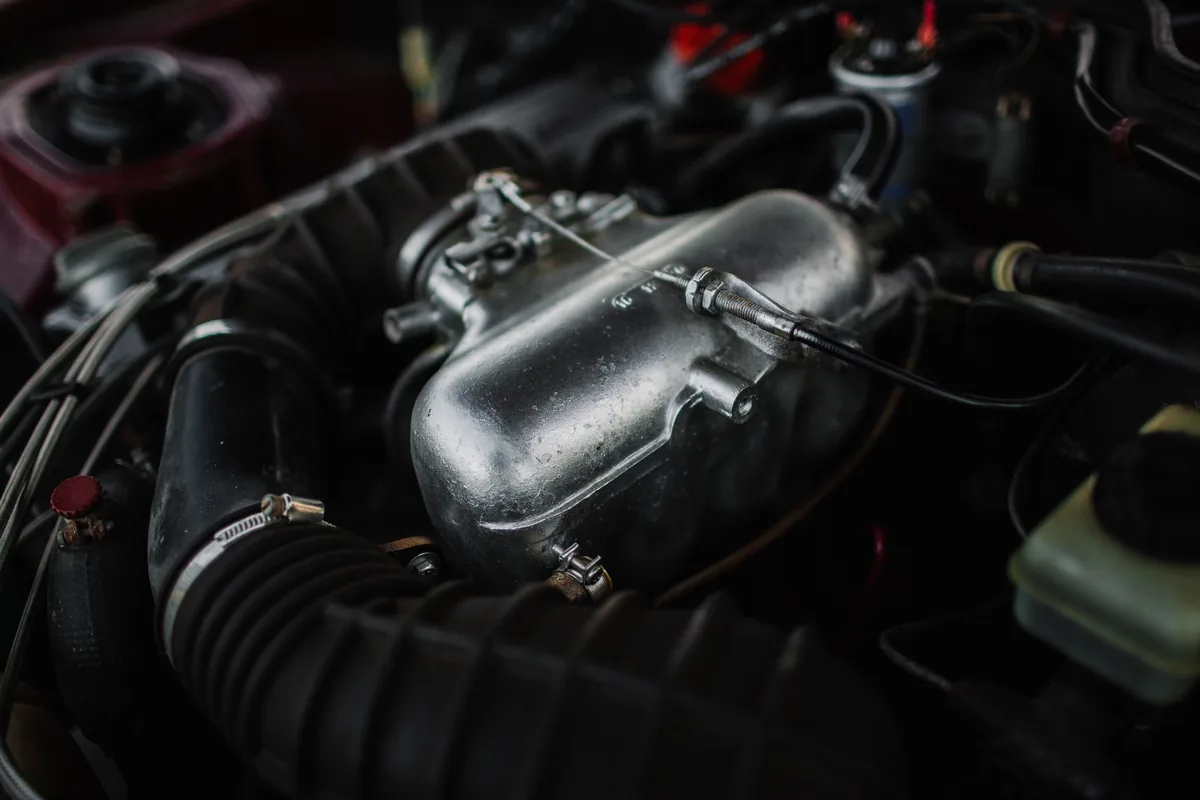
What the code actually means
The intake air temperature sensor is a thermistor, a resistor whose resistance changes predictably with temperature. Almost all of them are the negative-coefficient type: resistance falls as things get hotter, so cold air means high resistance and hot air means low resistance.
The ECU does not measure resistance directly. It sends a low reference voltage, commonly around 5 V, down the signal wire through a fixed resistor inside itself, and the sensor pulls that voltage towards earth by an amount depending on its resistance. Warm air means low sensor resistance, dragging the voltage well down; cold air means high resistance, and the voltage stays high.
Follow that to its extreme. If the signal wire breaks, the connector falls off or the element fails open, nothing pulls the voltage down at all, so the ECU sees close to the full reference voltage. From its point of view the air is colder than anything the atmosphere produces, which is not credible, so it stores P0113 and lights the lamp. Many scan tools show the reading in this state as an extreme minimum such as minus 40 degrees. The mirror image is P0112, low input, where the wire has shorted to earth or the sensor has failed closed.
One practical detail catches people out. On a great many modern cars there is no separate intake air temperature sensor to find, because the element is built into the mass air flow sensor housing and shares its connector. On those engines P0113 means that connector, the wiring behind it, or the airflow sensor as a complete unit. On other cars it is a small two-wire item screwed into the intake pipe. Check which you have before ordering anything.
Symptoms you’ll actually notice
The ECU uses intake air temperature to correct for air density and to fine-tune ignition timing, so a false reading skews the fuelling rather than breaking it. Symptoms are usually mild:
- The engine management light, which is often the only sign
- Slightly worse fuel consumption, because the ECU thinks it is drawing dense cold air
- A hot engine that takes longer than usual to restart
- A faint fuel smell or sooty tailpipe residue after a lot of short trips
- Slightly duller throttle response as the timing strategy hedges
- Occasionally a fuel trim code appearing alongside it
Some cars substitute a default value when they reject the sensor and drive almost normally. Convenient, but it means the fault can sit there for months quietly costing you fuel.
Likely causes, cheapest first
| Cause | Typical part cost | Why it’s on the list |
|---|---|---|
| Connector not fully seated after other work | £0 | The airbox area is where hands go most often. A plug left half home is the easiest thing in the world to fix. |
| Corroded, wet or spread connector pins | £0, or £8 to £20 for a pigtail | Water finds its way into intake-area plugs, and a pin pushed back in its housing gives an open circuit that comes and goes. |
| Broken or chafed signal wire | £0 to £25 for terminals and heatshrink | Looms rub through where they cross brackets. A break can appear only over bumps or when hot. |
| Poor earth or broken sensor earth return | £0 to £20 | The circuit needs a good path to earth to pull the voltage down, so a corroded earth mimics a failed sensor exactly. |
| Sensor failed open | £8 to £35 for a standalone sensor | Cheap thermistors do fail with age, though less often than the wiring in front of them. |
| Combined MAF and IAT unit failed | £35 to £180 | Where the two share a housing, a dead element usually means the whole assembly. Confirm before buying. |
| ECU fault or damaged pin at the ECU plug | Diagnosis time, then whatever it takes | Genuinely rare, and only worth considering once everything upstream is proved good. |
The cost gap between the top and bottom of that table is exactly why you work through it in order. It is entirely possible to spend nothing on this fault, and equally possible to spend a couple of hundred pounds on a combined airflow unit that was never broken.
Narrowing it down with live data
This is the code where live data gives you the answer almost for free, and the test is disarmingly simple. Leave the car standing overnight so the engine is thoroughly cold, then read intake air temperature and engine coolant temperature together before starting it. Everything under the bonnet has been sitting at the same temperature for hours, so those two readings should agree with each other, and with the outside air, within a few degrees. If it is 8 degrees on the driveway, coolant reads 9 and intake air reads 7, the circuit is fine and you are hunting an intermittent fault. If coolant reads 9 and intake air reads minus 40, you have found your open circuit.
Do this one first
Compare intake air temperature against coolant temperature on a stone-cold engine before you touch a spanner. Two readings that should be nearly identical, and are not, is the most conclusive test for this code, and it costs nothing but a lead and a cold morning.
Once the engine is running, watch how the intake reading behaves rather than what it says. It should sit close to ambient while the car is moving and creep up when you stop in traffic and the intake heat-soaks. A value frozen at one number regardless of conditions, or one that flicks to its minimum and back, is telling you about the circuit, not the weather.
Two quick physical tests then confirm which side of the connector is at fault. Unplug the sensor with the ignition on: the reading should go to its coldest extreme and set the same P0113. Then bridge the two sensor terminals in the connector with a short piece of wire, and it should swing to its hottest extreme and set the low-input code instead. If it does both, the wiring and the ECU are proved good and the sensor is the faulty part. If unplugging changes nothing, the circuit was already open behind the plug. Do this only on the sensor’s own low-voltage circuit, and never bridge pins at random.
Freeze frame is worth reading too, since it captures coolant temperature, engine speed and load at the moment the code set. One that only sets after several minutes of driving suggests heat or vibration opening a marginal connection. Reading and clearing codes is included in every edition, including AutoScan Standard, but the temperature comparison and freeze frame need an edition with live data.
Garage bill versus doing it yourself
| Job | Typical UK garage | DIY parts only |
|---|---|---|
| Diagnosis of the sensor circuit | £50 to £110 | Nothing, if you can read live data |
| Clean and re-seat the connector | £30 to £70 | £5 for contact cleaner |
| Repair a broken wire or fit a new pigtail | £60 to £150 | £8 to £25 |
| Replace a standalone IAT sensor | £50 to £120 | £8 to £35 |
| Replace a combined MAF and IAT assembly | £90 to £300 | £35 to £180 |
Most UK garages bill diagnostic work at roughly an hour of labour, with hourly rates commonly between £50 and £130 and rising at franchised dealers. Sensor prices vary far more than the labour does, and costs across all of these jobs differ substantially from one model to another, so get a quote for your own car before agreeing to anything.
When this is a DIY job and when it isn’t
Well within reach
Unplugging a connector, inspecting the pins, cleaning them with proper electrical contact cleaner and reseating the plug is a job for a spare ten minutes. A standalone IAT sensor is usually one small item held by a clip, a screw or a shallow thread; the main cautions are not to overtighten it into plastic and not to drop the retaining clip into the intake. If a wire has chafed at an obvious rub point, soldering and heatshrinking a repair is within reach of anyone who has done a little electrical work.
Hand it over
Intermittent open circuits that appear only when the engine is hot or the car goes over a bump are among the more frustrating faults to chase, and they need a meter, wiring diagrams and time. The same applies if the trail leads to the ECU connector, where a bent or backed-out pin needs the right extraction tools and a steady hand. Do not start unwrapping loom tape on spec.
Clearing the code the right way
Make the repair, clear the code, then prove it. This fault is unusually easy to verify: leave the car overnight again and repeat the cold comparison between intake air and coolant temperature. If they now agree, the circuit is genuinely fixed rather than temporarily disturbed. A pending code, one the ECU has seen once but not yet confirmed, is your early warning that an intermittent connection is still there.
Clearing codes also resets the readiness monitors, the background self-tests showing each emissions system has completed its checks. Those need a full drive cycle before they report complete, which is exactly why clearing a code on the way to a test is a bad idea rather than a clever one. Clearing P0113 without fixing the circuit buys a few miles of silence, and the extra fuel it quietly burns is money out of the tank.
How it affects the MOT
The MOT checks the engine management lamp on petrol cars first used from July 2003 and diesels from July 2008, and a lamp that stays lit is a Major defect on its own, so this code needs resolving before the test whatever else the car does. Beyond that, a fuelling correction based on a wildly wrong air temperature can raise petrol emissions readings enough to matter at the tailpipe check. (An American emissions or smog check treats it the same way, failing on an illuminated lamp and on readiness monitors that have not completed.)
Two readings, one cold morning
Comparing intake air and coolant temperature before the first start of the day is the quickest way to confirm this fault, and it needs nothing but a lead and live data. AutoScan runs on Windows with an ELM327 adapter, and the free download lets you check it installs and connects to your car before you buy a licence.
Read it yourself
Stop guessing at the code
AutoScan reads the fault straight out of your car and tells you what it means in plain English, on your own Windows laptop. The trial reads real codes before you pay anything.
Keep reading
Related guides
P0455 Large EVAP Leak: Start With the Fuel Cap
A large evaporative leak is the one EVAP fault you can often find yourself in five minutes, and the fuel cap is…
P0141: The O2 Heater Fault That Fails You on Readiness
A heater fault on the rear lambda sensor rarely changes how the car drives, but it blocks the readiness monitor. Here is…
P0171 System Too Lean (Bank 1): Causes and Real Fix Costs
What a lean code on bank 1 really tells you, how to read fuel trim properly, the causes in order of likelihood…