
P0141: The O2 Heater Fault That Fails You on Readiness
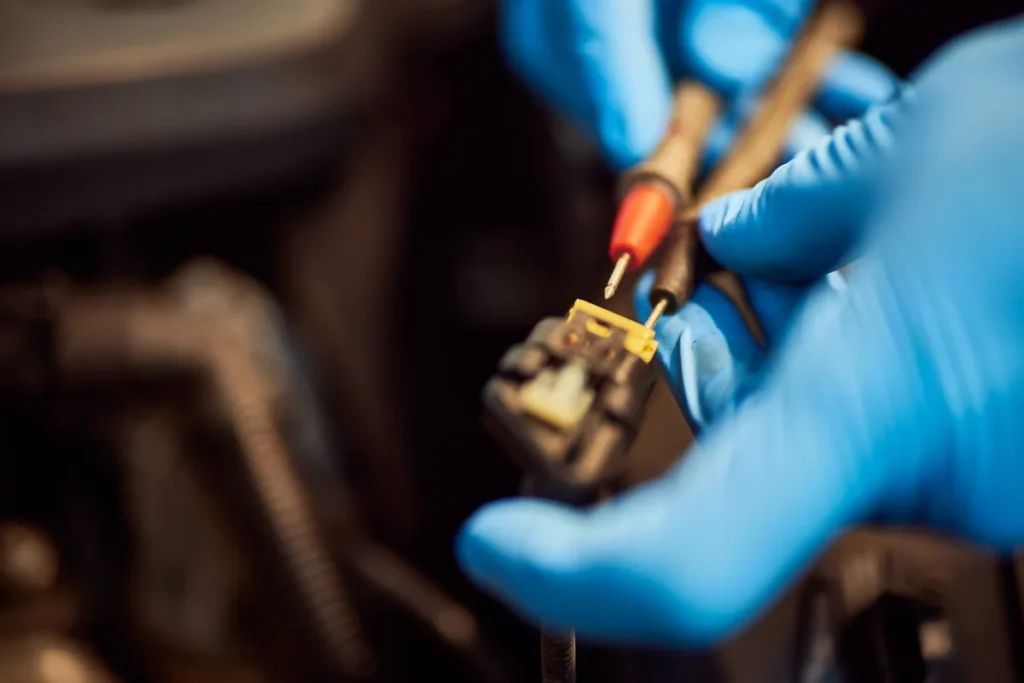
This code is not about the sensor’s readings. It is about the small electric heater built into the rear lambda sensor, the one fitted behind the catalytic converter. The ECU checks the electrical circuit feeding that heater, found it drawing the wrong amount of current, and stored P0141. Your car will almost certainly drive exactly as it did yesterday, which is why the real cost of this fault shows up at MOT time rather than on the road.

What the code actually means
A lambda sensor is only accurate once its tip is genuinely hot, several hundred degrees hot. Exhaust gas alone would eventually get it there, but that takes minutes, and on the school run in January it may never happen at all. So every modern sensor has a heating element wound inside it that brings the tip up to working temperature within seconds of the engine starting.
That matters for two reasons. The ECU cannot enter closed-loop fuelling until its sensors are live, so a working heater shortens the period when the engine is running on a fixed warm-up map and burning more fuel than it needs. And the ECU’s self-tests, the readiness monitors, cannot run at all on a sensor that is stone cold.
The ECU supervises the heater by watching the current flowing through the circuit. An open circuit, a short, or a resistance that has crept far outside expectations all look wrong, and once the ECU has confirmed it, P0141 is logged. Sensor 2 identifies the position: numbering follows the exhaust, so Sensor 1 is before the converter and Sensor 2 is after it, on the bank containing cylinder one.
Because the rear sensor’s job is grading the converter rather than setting fuelling, a heater failure there does not upset how the engine runs. What it does is stall the oxygen sensor monitor, and on many cars the catalyst monitor as well, since that test depends on a working rear sensor. Those monitors then sit permanently at “not complete”.
Two heater codes at once
If P0141 has arrived alongside P0135, the equivalent code for the front sensor’s heater, do not order two sensors. On a great many cars both heaters are fed from one fuse or one relay, and a single blown fuse produces both codes together. Check the fuse before anything else.
Symptoms you’ll actually notice
In most cases, nothing whatsoever apart from the warning lamp. The car starts, idles, pulls and returns roughly the same economy as before. That is genuinely normal for this code and does not mean the fault is imaginary. The short list of things you might see:
- The engine management light on, with no change in how the car drives.
- A slightly higher fuel consumption on very short, cold journeys.
- Oxygen sensor readiness showing as incomplete however far you drive.
- An unexpected MOT emissions failure, which is often how people discover the code exists.
Likely causes, cheapest first
| Cause | Typical part cost | Why it’s on the list |
|---|---|---|
| Blown fuse on the heater supply | Under £1 | The single most common fix, and free to check. Often shared with other circuits, so look for a second heater code. |
| Corroded or water-filled connector | A few pounds of cleaner and dielectric grease | The rear sensor plug lives under the car, in the spray. Green pins are a very common finding. |
| Chafed heater wire or a poor earth | A few pounds in wire and heatshrink | The loom runs along a hot pipe and gets pulled about every time the exhaust moves on its mounts. |
| Failed heater relay or a dry joint at the fusebox | £10 to £30 | Less common, but worth a look if the fuse is intact and the wiring tests good. |
| Heater element open circuit inside the sensor | £25 to £90 for a downstream sensor | The element burns out with age. This is a real cause, just not the first one to assume. |
| ECU heater driver fault | Varies widely | Rare. Only consider it once fuse, wiring and sensor have all been proved good. |
The order is deliberate. Checking a fuse costs nothing and takes two minutes, and a corroded plug costs the price of a tin of contact cleaner, yet plenty of people go straight to buying a sensor and fight a seized one out of a rusty exhaust for no reason. Prove the supply is reaching the sensor before you touch a spanner.
Narrowing it down with live data
Start with the monitor status screen rather than the sensor graphs, because that is what this code actually breaks. If oxygen sensor readiness is stuck at incomplete after a week of varied driving, the heater story fits. If it has quietly completed, you may be looking at an intermittent fault that has since cured itself.
The freeze frame is unusually informative here. Heater codes almost always set shortly after a cold start, so expect a low coolant temperature, low road speed and a short run time in the captured data. If the freeze frame instead shows a hot engine at motorway speed, treat the diagnosis with more caution and look harder at the wiring for an intermittent break.
Then graph the downstream sensor’s voltage from a genuinely cold start. With a healthy heater the trace should come alive within the first minute or so and settle into the lazy, slow drift a post-cat sensor normally shows. If it stays flat and lifeless for several minutes and only starts responding once the whole exhaust has warmed through, the sensor is being warmed by the exhaust alone, which is exactly what a dead heater looks like. Some cars also publish a heater current or duty value, which is worth watching if yours offers it. Live data and freeze frame need an edition that includes them, and the edition comparison shows which.
A multimeter finishes the job. With the sensor unplugged, the two heater pins should read a low resistance, commonly a handful of ohms, though the correct figure varies between sensors so check your car’s specification. An open circuit reads as no continuity at all and condemns the sensor. Then check that battery voltage and a good earth actually arrive at the harness side of the plug with the ignition on, because if they do not, the sensor was never the problem.
Garage bill versus doing it yourself
| Job | Typical UK garage | DIY parts only |
|---|---|---|
| Diagnostic session | Roughly £50 to £120 | Your own time |
| Fuse replaced and circuit checked | Often folded into the diagnostic charge | Under £1 |
| Connector repair or rewire | Roughly £40 to £110 | £5 to £20 |
| Downstream sensor replaced | Roughly £90 to £200 | £25 to £90 |
| Sheared sensor extracted or pipe replaced | Roughly £150 to £400 | Not sensible at home |
Diagnosis in a UK garage is typically charged at about an hour of labour, and hourly rates differ considerably between a village independent and a franchised dealer. What the same job costs on two different cars can also be wildly different, so treat these bands as orientation rather than a price list.
When this is a DIY job and when it isn’t
Well within reach
Pulling the fusebox lid, finding the right fuse and testing it costs nothing and solves this code more often than anything else on the list. Unplugging the sensor connector, cleaning the pins and checking for water is straightforward too, as is repairing a wire that has rubbed through against the exhaust. None of that needs the car off the ground on most vehicles.
Where it gets hard
The genuine difficulty of this job is not electrical, it is mechanical. A sensor that has sat in a corroding exhaust for years may be effectively welded in. Get the car up on axle stands on level ground, let the exhaust cool from hot to merely warm so the threads have relaxed but you are not being burned, soak them in penetrating oil and go and make a cup of tea before trying again. Use a slotted lambda socket rather than an open spanner. If the sensor body begins to twist instead of unscrewing, stop and hand it over, because shearing one off leaves a stub that has to be drilled or a section of pipe that has to be replaced.
Clearing the code the right way
Repair, then clear. There is no version of this where clearing the code first helps you.
Once you clear it, watch what happens next. A P0141 caused by a genuinely open heater circuit usually comes back within a drive cycle or two of the next cold start, and that quick return is a straightforward way of proving your repair did not take. A code that stays away through several cold mornings is good evidence you found it.
Clearing also resets the readiness monitors, which matters more with this code than most, because a stalled monitor is the whole problem in the first place. You need a genuine cold start and then a decent varied run for the oxygen sensor monitor to complete, and repeated short trips will not do it. Check the monitor list rather than assuming, and never clear the code the day before a test in the hope of getting through.
What this means for your MOT
On petrol cars first used from July 2003 the lamp itself is an inspected item and a lit one is a Major defect, so a car that drives perfectly will still be turned away with P0141 stored. The trap is the second half: a tester can also see whether the lamp is working correctly, and in the US an emissions or smog check fails outright on incomplete readiness monitors, which is precisely what a dead sensor heater guarantees. Repair the circuit, let the monitors finish, and present the car properly.
Watch the rear sensor wake up
The clearest evidence of a heater fault is how long the downstream sensor takes to come alive from cold, which you can see for yourself on a graph. The video tutorials walk through reading codes and sensor data step by step.
Read it yourself
Stop guessing at the code
AutoScan reads the fault straight out of your car and tells you what it means in plain English, on your own Windows laptop. The trial reads real codes before you pay anything.
Keep reading
Related guides
P0420: Why It Is Rarely Just the Catalytic Converter
What the ECU is really measuring when it stores P0420, the cheaper faults that produce an identical reading, and how to check…
P0128 Coolant Thermostat: Why the Engine Never Warms Up
P0128 means your engine is not reaching its expected temperature in the expected time. What that costs in fuel and wear, how…
P0102 Mass Air Flow Circuit Low Input: Sensor or Symptom?
How to tell a genuinely dead mass air flow sensor from one reading low because of a restriction, a split pipe, an…